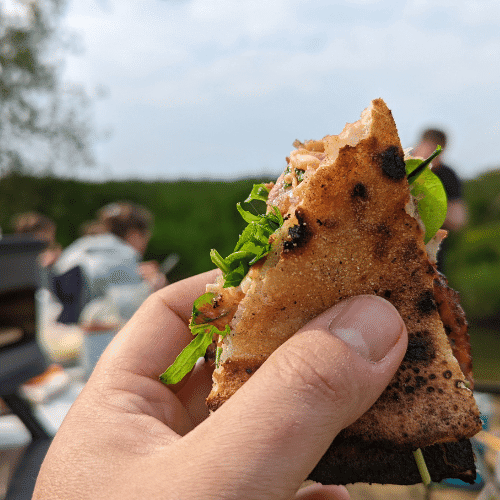
BBQ Pork Sourdough “Puccia” Sandwiches
BBQ Pork Sourdough Pizza “Puccia” Sandwiches Mix it up a little when out and about this summer, with this delicious fusion of bbq meat &
If you are wanting a lovely, puffy Neapolitan-style crust on your pizza, then leave the rolling pin in the drawer!
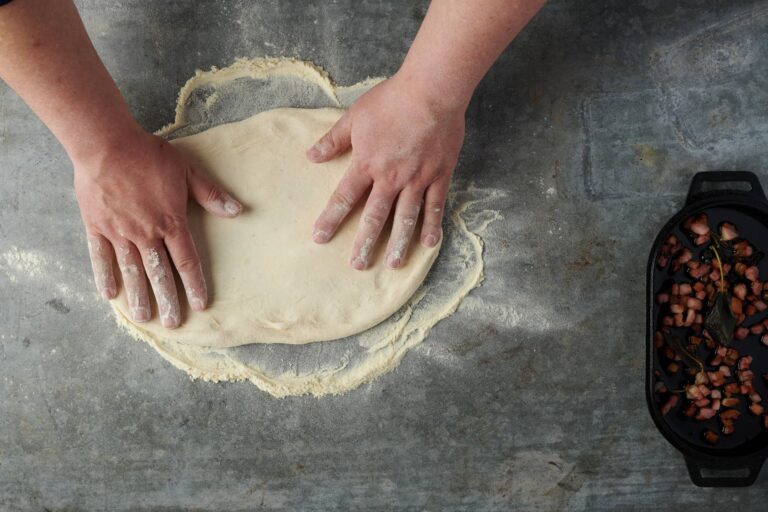
Stretching pizza dough by hand is not only great fun but also means you can control the shape of the base, leaving a thin centre and plenty of airy dough at the edge which turn into puffy crusts almost as soon as they hit the hot oven.
However, unless the dough has been properly proved, your stretching efforts will be fraught with unnecessary challenges. So here’s how we do it:
Allow your frozen pizza dough balls to thaw slowly in the fridge overnight, or up to 3 days for even better results, thanks to the cold fermentation process explained elsewhere in our blog.
The container you use for thawing and proving must be sealed, to prevent the dough from drying out.
You can buy dough proving trays which are great for larger numbers, but you will notice in our video of how to prepare your dough below that we use a simple lidded 16 oz plastic food container for proving in. These are so cheap to buy and work really well, as they minimise the amount of air getting to the dough, so it’s less likely to dry out. Hand wash and reuse, they stack away nicely taking up little space.
Once the dough has fully thawed (approx 12 hours in the fridge) it’s a good idea to re-shape the dough.
This re-shaping step is not just cosmetic, but creates tension with the gluten, giving a better spring to your crusts later.
Reshape the dough by drawing them with cupped hands across a work surface and place them back in the proving container, leaving space for them to double in size.
Final proving time will vary, depending on the dough type and ambient room temperature. As a guide, these are the approximate proving times for our pizza dough. It is possible to use them with shorter proving times, but it’s well worth waiting!
As much as you want them to be well-proved, you don’t want them to over-prove, so keep an eye on them and generally, once they have doubled in size, they are good to go.
In very warm weather, these times can reduce by half, so if you are worried they are over-proving, pop them back into the fridge and remove them an hour or 2 before cooking.
OK, time to stretch. First up, make sure that you are ready to start topping and cooking straight away, as the stretched dough can become sticky and hard to work with if left hanging around. Some folks par-cook the bases without any toppings on first and then finish off later when they are ready. This could be a good option if you need to get ahead of yourself beforehand, but it likely won’t ever give you quite such a great pizza.
We prefer to stretch, top, cook and eat in one continuous flow, and let the good times roll. No need to be too over-organised when the oven is roaring, the beers are pouring and everyone is having fun.
Take your dough ball, dunk it in a bowl of flour or fine semolina and then lay it on your work surface.
Press gently into the centre of the dough with your fingers and begin to work outwards from the centre, pushing all the trapped air into the crust. once you are at 8″ or so you can lay the dough over the back of your hands and gently stretch the dough with your fists. Another way is to let the dough hang from your fingers and work around the edge, letting gravity stretch the dough for you.
There are huge numbers of videos online showing various ways of stretching and generally, everyone comes up with a combination of methods that works for them.
All the while, try and maintain your crust ring of 1″ or so.
Once you have fully stretched, flop your base gently onto your work surface, which should be lightly dusted with flour, semolina or polenta according to your preference and get topping! Refer to our Golden Rules post for other tips on how to make the perfect pizza.

BBQ Pork Sourdough Pizza “Puccia” Sandwiches Mix it up a little when out and about this summer, with this delicious fusion of bbq meat &

Making Neapolitan-Style Gluten-Free Pizza Using Wood (or Gas) Fired Pizza Oven Thaw And Prove Your Gluten Free Pizza Dough Gluten-Free Pizza dough can be tricky to

Rule 1: The Best Pizza Method Is One That Works For You There are so many videos and online blogs around these days with the
All major credit cards accepted.