How To Prepare Your Ready-Made Pizza Dough For Neapolitan-Style Pizza
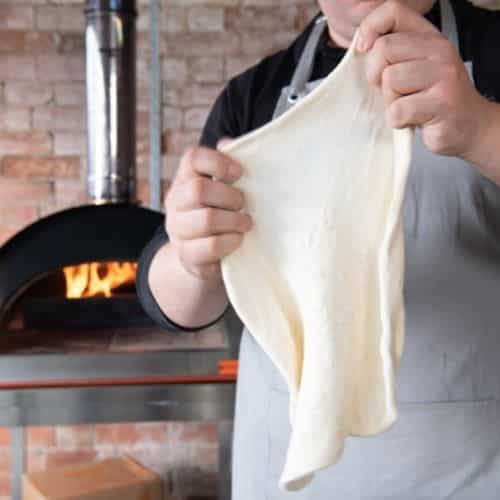
If you are wanting a lovely, puffy Neapolitan-style crust on your pizza, then leave the rolling pin in the drawer! Stretching pizza dough by hand
Gluten-Free Pizza dough can be tricky to handle, being much more fragile than regular dough, as it doesn’t have the same elastic properties and tends to be more like pasty dough to handle.
That said, with some practice and a few different techniques, you can still make lovely pizza, with soft puffy edges, and a great flavour. We have tried a wide range of gluten-free doughs and our latest recipe is the best that we have found so far.
If your doughballs are frozen, give them a little rub with olive oil then leave them in the fridge overnight to thaw out in a sealed container. About 4 hours before you want to cook, remove the pizza dough from the fridge and allow it to come to room temperature, still in a sealed container. As there is no gluten to develop, the dough won’t puff up like normal bread dough at room temperature, so don’t be concerned if it doesn’t double in size, it will probably just relax a little.
While the gluten-free dough is proving get your pizza oven fired up to around 400 °C with a gentle rolling flame, ready to cook.
We like to give the dough a rub of olive oil to soften it before stretching, which helps hold it together too.
Now, if we weren’t looking for a Neapolitan-style puffy crust, we could simply use a rolling pin to flatten the dough out, to give you a thin crispy edge pizza – but that’s not the purpose here.
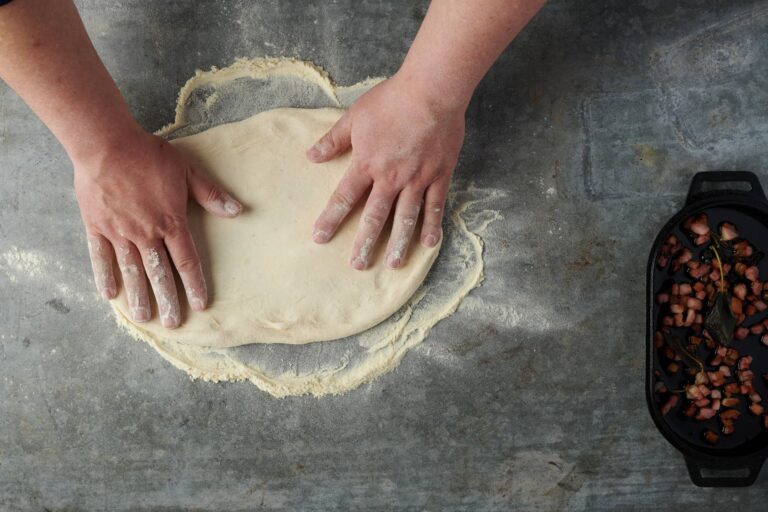
Dust your workbench with gluten-free flour and, as with regular dough, begin to press into the centre of the dough ball and begin to spread it out into a disc, with a 1/2″ crust left on the perimeter. This will take longer than with regular pizza dough, so just take your time and use your other hand to support the outside of the crust and keep it neat and tidy.
Keep lightly dusting the gradually expanding pizza base so things don’t get sticky. With a little patience, a 250g doughball will get to around 10″ in diameter and have a nicely pronounced crust.
This is a step you can experiment with and may leave out entirely, depending on your pizza oven and the way gluten-free dough performs in it.
However, a gluten-free base will take generally a little longer than a regular pizza base to cook through, meaning your cheese and toppings can over-cook, and so par-cooking the base for a short while can help the dough and the toppings reach the perfect point at the same time.
It also means that if you are cooking a load of regular pizza too, the longer process of the gluten-free pizza prep can be done beforehand and then just topped before the final cook. The final result is still much better than buying commercially par-cooked bases, which are unlikely to give you a Neapolitan-raised crust.
Check the base isn’t sticking on your peel and launch it into your pizza oven. You don’t want to leave it in too long at this point, just enough for the crusts to inflate and the base to seal off, but not start to brown.
Retrieve your base and add your toppings, returning to the oven to finish the cooking process.
With some practice, you can achieve really pleasing results, with a gluten-free pizza that has soft, puffy crusts and a great wood-fired taste.
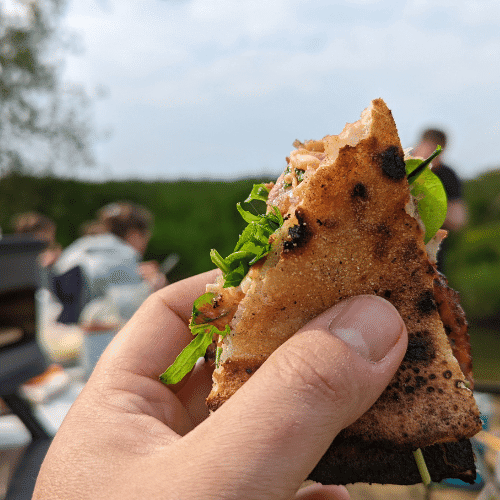
The picture shows a genuine image, using the par-cooking method and finished with the lovely fresh flavours of fior di latte, prosciutto and basil!

If you are wanting a lovely, puffy Neapolitan-style crust on your pizza, then leave the rolling pin in the drawer! Stretching pizza dough by hand

BBQ Pork Sourdough Pizza “Puccia” Sandwiches Mix it up a little when out and about this summer, with this delicious fusion of bbq meat &

Rule 1: The Best Pizza Method Is One That Works For You There are so many videos and online blogs around these days with the
All major credit cards accepted.